
LMDE (Linux Mint Debian Edition) 7, codenamed “Gigi” is out now. Built on Debian 13, it ships with Linux kernel 6.12 and APT 3.0, which brings dependency resolution improvements. The distribution has included Fingwit for fingerprint authentication, improved Sticky Notes with Wayland support, and enhanced theming for LibAdwaita applications. This guide covers the detailed steps on how to install LMDE 7 the right way.
System Requirements
Minimum specs are 2GB RAM and 20GB disk space. Realistically, 4GB RAM makes the system usable for actual work, and 100GB gives you breathing room for applications and data. Display requirement is 1024×768, which means most of the modern monitors will work fine.
The 32-bit architecture is officially dead here. LMDE 7 is 64-bit only, so legacy hardware users need to stay on LMDE 6 or migrate to something else entirely.
Pre-Installation Preparation
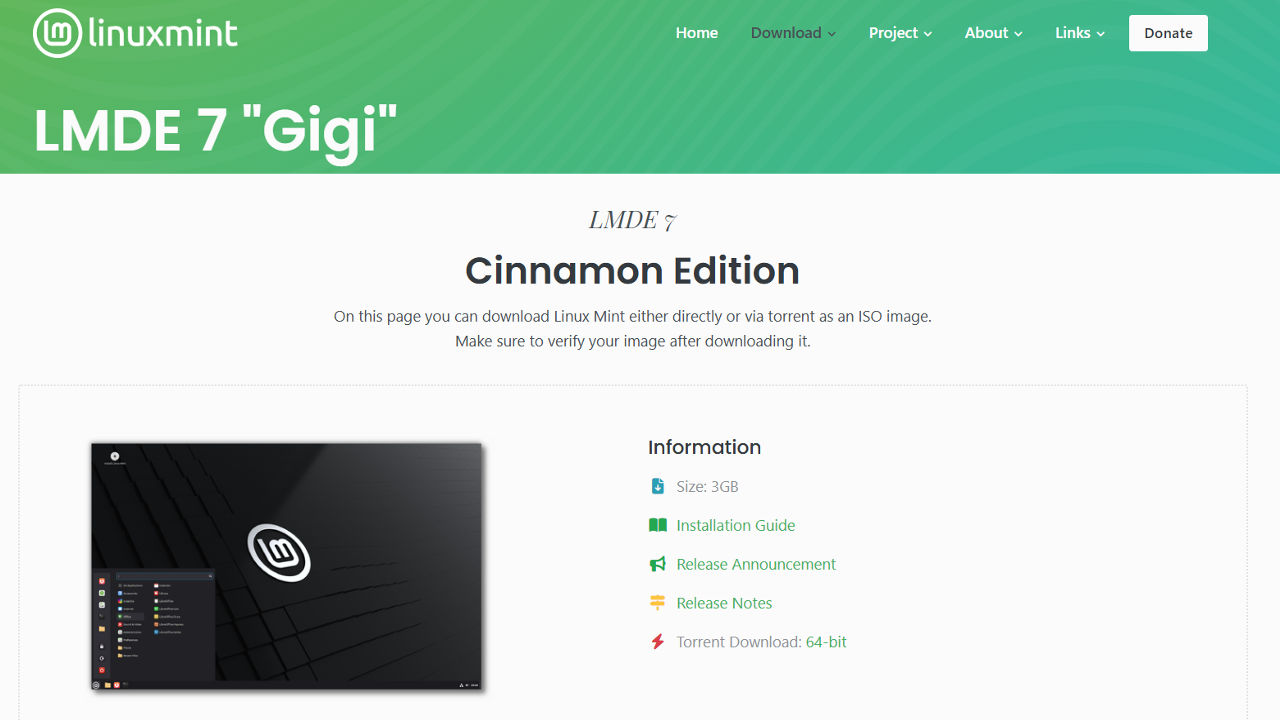
Download the ISO from linuxmint.com. They offer direct downloads and torrents through regional mirrors. Verify the checksum if you’re paranoid about corruption or man-in-the-middle attacks, though the official site uses HTTPS.

Create a bootable media by flashing the downloaded ISO on a USB stick. Balena Etcher works on all platforms and rarely fails. Download it from its website. Install it and flashing the ISO is straightforward.

For the Windows operating system, Rufus is a more popular and faster option to make bootable media. You can download it from its official site and flash the USB drive with the ISO.

Back up your data. This should go without saying, but I have seen too many people skip this step and regret it. The installer will explicitly warn you before wiping anything.
Boot and Live Environment
Insert the bootable USB and restart. Access your boot menu through F12, F2, Delete, or whatever key your motherboard manufacturer decided was intuitive. Select the USB device from the boot priority list.
The LMDE boot menu appears with installer options. Choose the first “Start LMDE” option. This will boot into live LMDE 7.

The live session credentials are username “mint” with no password. You can test drive the system without touching your hard drive. Check WiFi connectivity, verify display drivers, test audio output. When ready, double-click “Install Linux Mint” on the desktop.

LMDE 7 Installation Steps
Clicking the “Install Linux Mint” on desktop will open the Installer welcome screen that will guide the installation. Click on “Let’s go!“.

Step 1 – Choose language and localization
The first screen asks for language selection. This determines interface language, keyboard layout suggestions, and regional settings. Choose carefully because changing this later involves editing configuration files manually.

Timezone selection follows. Simply point and click your timezone on the map interface.

Step 2 – Keyboard Layout Configuration
Select a suitable keyboard model and layout from the menu.

Step 3 – User Account Creation
Create your user account with a username and a password you desire. The computer’s name you choose here appears on network device lists and in terminal prompts.

LMDE 7 includes Fingwit for fingerprint authentication. If your hardware supports it, you can configure biometric login during installation or skip it and set up later.
Step 4 – Disk Partitioning Scheme
The installer offers automated and manual partitioning.
Choose automated installation for single-boot systems or if you want to dedicate the entire drive to LMDE. The installer handles partition table creation, filesystem formatting, and bootloader installation. It’s efficient and rarely fails unless the target drive has hardware issues.

Manual partitioning gives you control. Dual boot configurations or setting up separate /home partitions require this. The point is that you need to understand what you are doing.
The automated installation warning about data deletion is your last checkpoint. Confirm and then click Next.

Step 5 – Boot Menu Configuration
This step configures the GRUB boot menu installation location. Select the main drive for the GRUB menu installation.

Step 6 – Installation Summary
The installer displays the summary of all the previous steps. You may go back and change any details if you want. Confirm the details and then click Install.

Click on Install to begin the installation.
Wait until the installer copies files and configures the system. This may take many minutes. Time varies based on speed. SSDs finish in 5-10 minutes. Mechanical drives take 10-20 minutes. Progress indicators show current operations.

Once installation is completed, installer will give us the option to reboot the system as shown below:

Post-Installation Configuration
Remove the USB drive when prompted and restart. The system boots into your LMDE 7 login screen. Enter the password and log in.

After login, the welcome screen appears with optional setup tasks like desktop customization, automatic update configuration, multimedia codec installation and Timeshift snapshot setup. These aren’t mandatory immediately but address common post install needs.

Click on Let’s go!, this will take us to the following screen.

Follow the screen instructions and finish these basic settings as per youur need.
Tip: The root account is locked by default in LMDE for security. Recovery mode access and direct root login require setting a root password. You probably don’t need this for daily use, but knowing it’s locked matters when troubleshooting issues.
Conclusion
LMDE 7 installation is technically straightforward if you understand basic partitioning concepts. The installer guides you through each step without assuming expertise.
What you get in LMDE 7 is a stable, no-nonsense system that gets out of your way. Debian’s package means you won’t get surprise breakage from untested updates. For workstations, development machines, or servers where uptime matters more than having the absolute latest features, LMDE 7 delivers.
Source link